
How to Clean a Dehumidifier?
According to the National Asthma Council, the most comfortable levels of humidity range between thirty to sixty percent. Everything that is above or below that range is normally considered high or low humidity. While high humidity contributes to your low energy levels, low humidity can cause dry skin, sore throat, and even make your eyes itchy. This means that adding devices to maintain normal humidity levels is a must for some households.
But what if you already use a dehumidifier that it’s inefficient due to irregular cleaning? If this is the case, let us thoroughly guide you on how to clean a dehumidifier in order to reduce high humidity levels.
How to Clean a Dehumidifier: Step by Step Guide
Cleaning a dehumidifier requires you to start by completely turning it off and thus clean its bits and pieces thoroughly.
Step One: Turn Off and Unplug Your Device
Whether you are wiping the outside or cleaning out the reservoir, turning your dehumidifier off and unplugging it from the outlet is a must. This ensures that it is completely safe to clean.
Step Two: Wipe Down the Exterior
Dehumidifiers work by drawing air into their coils through a fan and there could be a handful of dust as a consequence. For best results, slightly dampen a cloth to gently wipe off any dust that has stuck to the device.
Step Three: Clean the Reservoir
As the warm air that the dehumidifier draws from your living space flows through the refrigerated coils of the device, it creates moisture that eventually ends up in its reservoir one droplet at a time. In order for you to avoid mold growth due to excessive moisture, it’s of crucial importance to empty this reservoir every so often. Otherwise, mold could easily spread into the entire device and worsen the air quality in your home, eventually causing asthmatic attacks or allergy flare-ups. Here are some steps to help you clean the reservoir efficiently:
- The first step towards cleaning the reservoir to avoid mold growth is pulling it out and emptying it entirely.
- Secondly, fill it in with lukewarm, soapy water and use either a soft brush or a sponge to scrub down every corner of the reservoir. Rinse.
- Make sure to fully dry the bucket before putting it back into your device.
Do note, though, that these instructions only apply for those devices that don’t use a hose to pump water directly into a drain.
Step Four: Clean or Replace the Air Filter
The air filter serves the purpose of cleaning the air that enters your dehumidifier. When filthy or clogged, the air filter can cause a decrease in performance.
Refer to your manual to locate the air filter in your unit and remove it to check whether it needs replacement or not. If it doesn’t require a replacement, remove the accumulated dirt or dust using a vacuum. Once the loose particles are off, make a cleaning solution with lukewarm water and a gentle detergent in a big container where you can soak the filter for several minutes. You can also run water through from the clean side of the filter to push the dirt off the outside. Rinse the filter and fully dry it before you place it back in the unit.
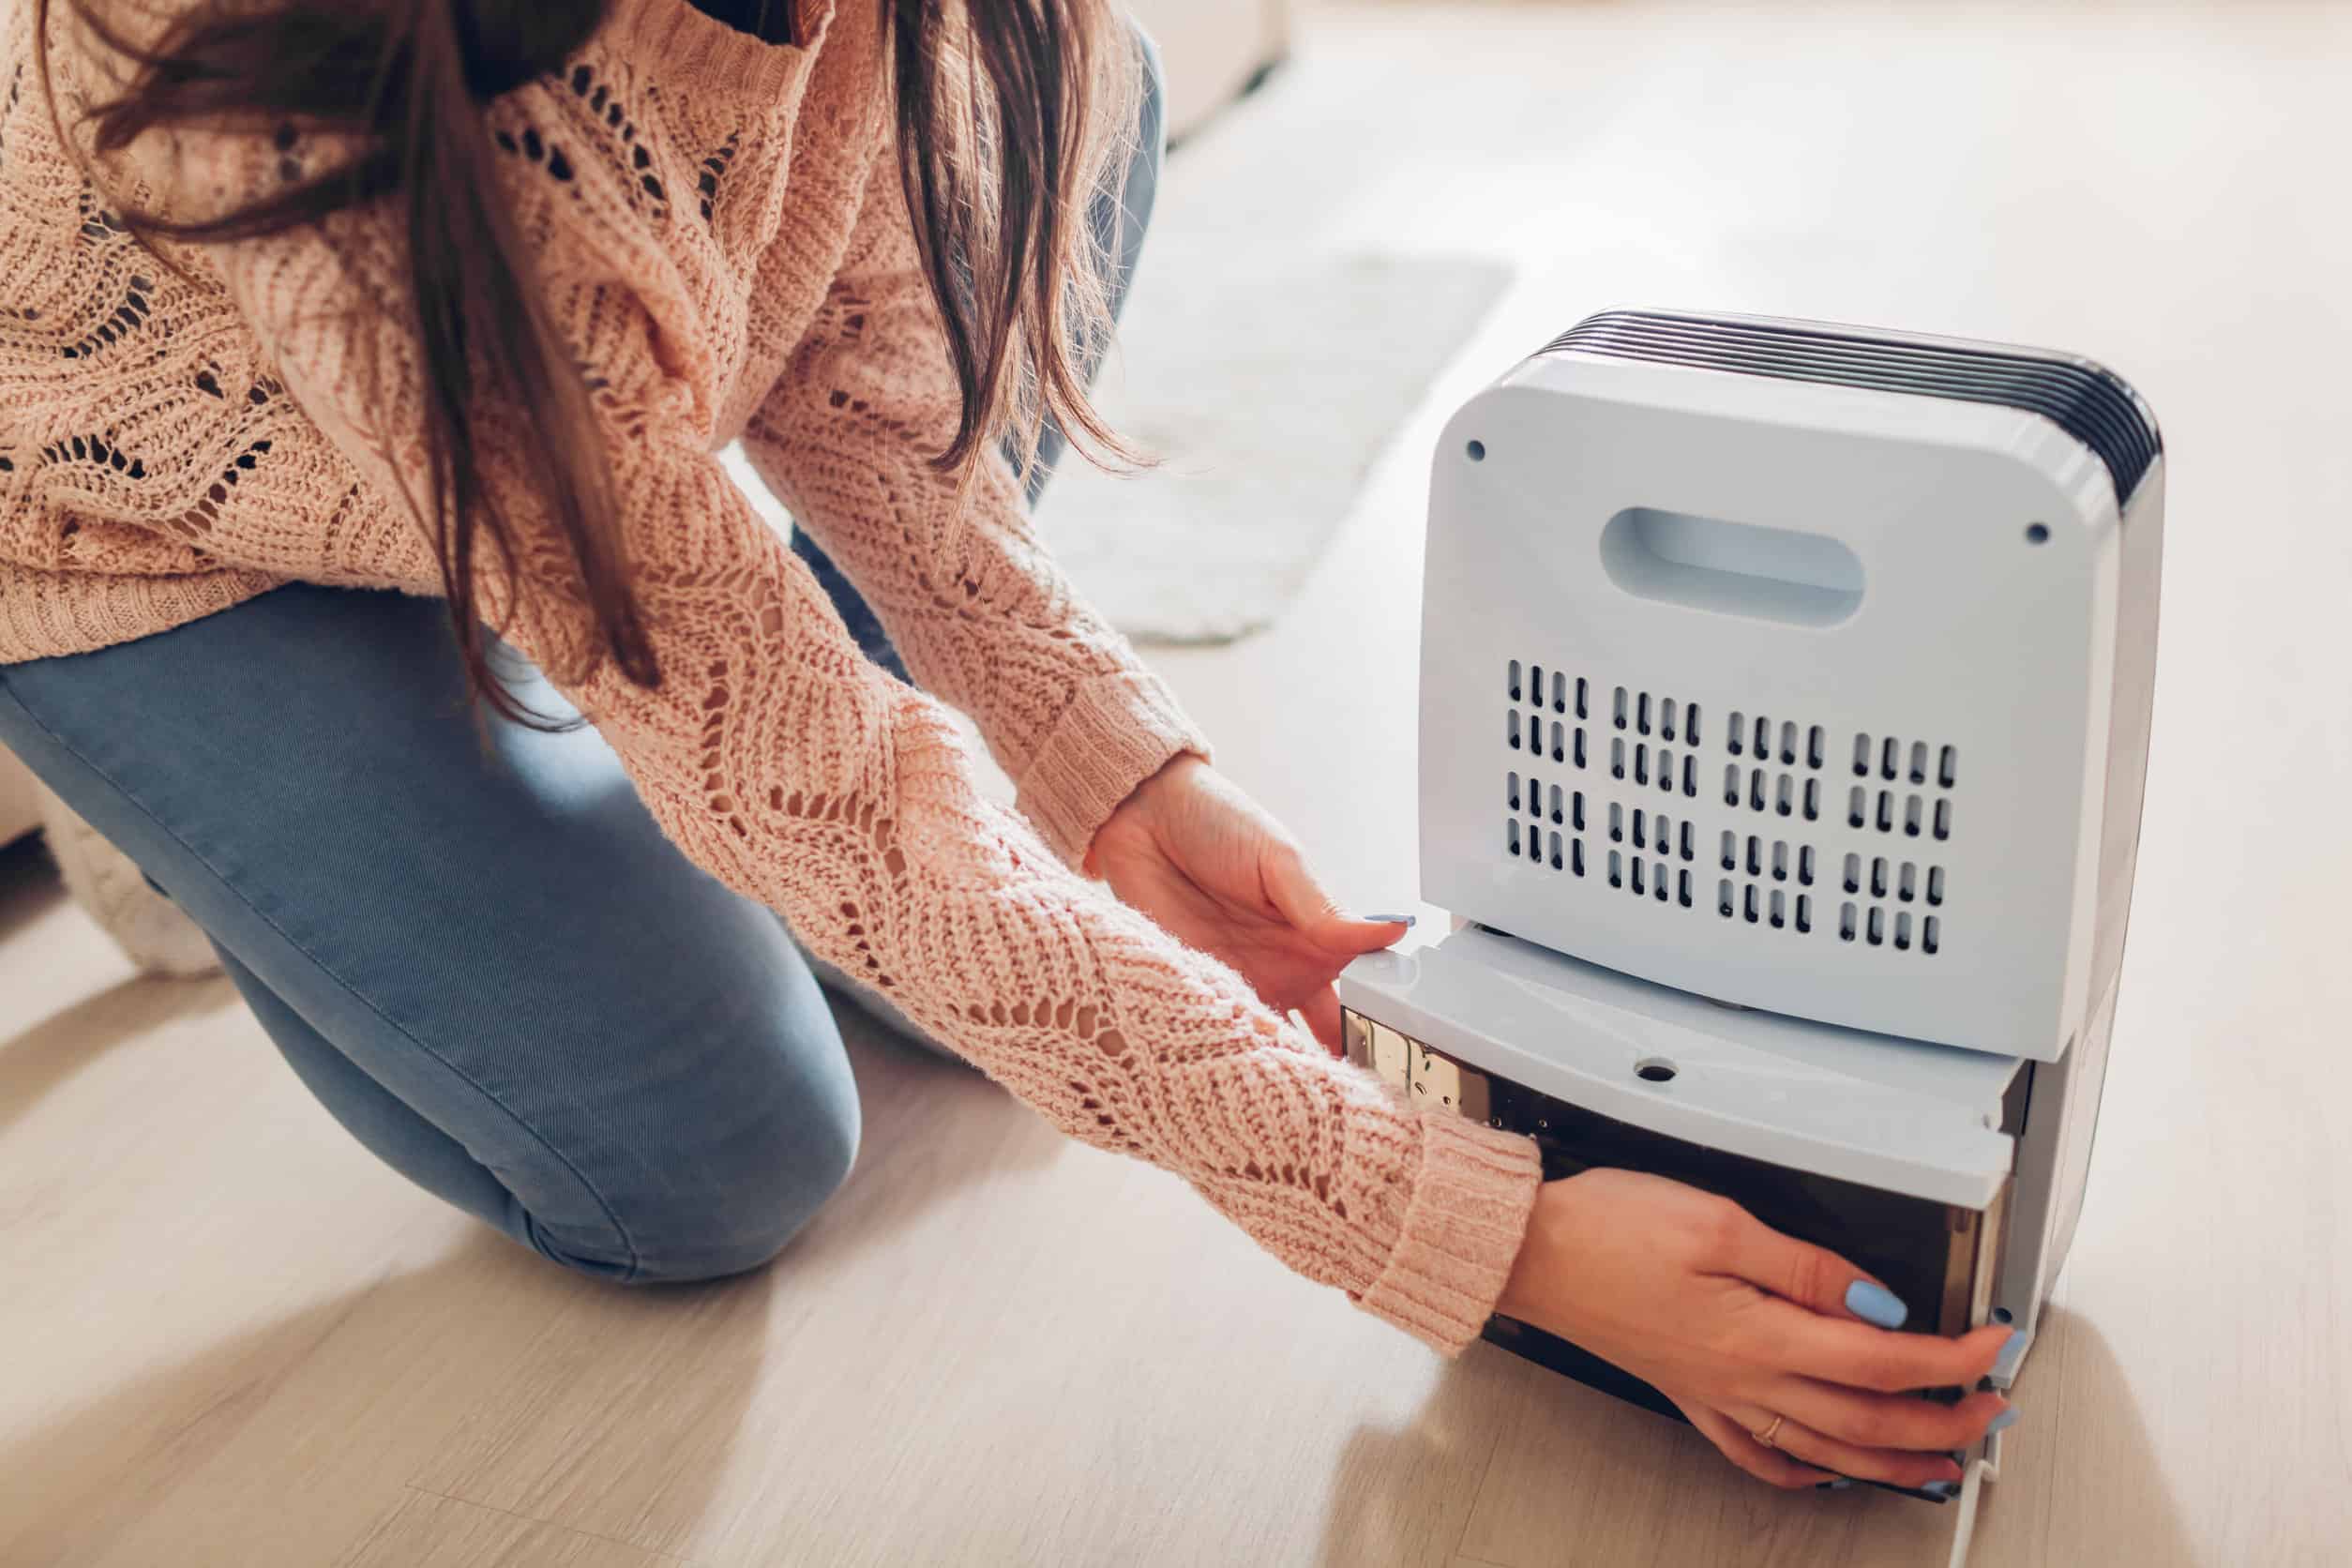
Step Five: Remove and Clean the Bucket Filter
Although it is as small as a thimble, the bucket filter is quite important as it traps any stray impurities in your unit. Keep in mind that this filter can’t be found in all dehumidifiers, but if yours does use one, it’s really important to be unclogged. Check your manual to see where it’s located and rinse it with lukewarm water. To avoid any mold growth, let it fully dry before putting it back into its place.
Step Six: Carefully Clean the Coils
Cleaning the coils regularly will ensure excellent functioning of your dehumidifier as they can get quite dirty with all that airflow. Clean them with a vacuum hose using a brush attachment for best results. You might also need to use a coil cleaning solution to remove excessive dirt but make sure to rinse or wipe it off at the end.
Step Seven: Use Vinegar
Using vinegar can truly do wonders when it comes to disinfection. Create a solution of white vinegar and water in equal quantities and wash the dehumidifier’s tank. Scrub the interior subsequently with either a dry cloth or soft brush to avoid mold growth.
Step Eight: Reassemble the Dehumidifier
Once you finish cleaning your dehumidifier, put its pieces back together. We can’t stress enough the importance of every part being fully dry before you begin this process.
Step Nine: Plug It Back In
Make sure everything is fully dry before you plug the device back in an electric outlet. Once plugged in, check the display for any faults, and if everything is working well, let your unit work.
Routine Maintenance for a Long-Lasting Dehumidifier
In order to keep your dehumidifier efficient for a longer period of time, you’ll also need to follow some maintenance steps.
Replacing the filter regularly is perhaps the most significant step towards keeping your unit in a tip-top shape. The next step is checking whether there is water in your container as it should never be too full. Examine the coils for frost every now and then and if this is the case, let it melt by unplugging the machine.
Final Takeaway
As your humidifier collects dirt and grime in the process of lowering the humidity levels in your living space, cleaning it out regularly is crucial. Although most devices use a display to notify you whenever cleaning is necessary, we advise you to do your own examination from time to time. This will undoubtedly help you get the most out of your dehumidifier and enjoy a healthy living atmosphere.